
✏️ HW 1 Setting up CCS and Git#
📜 Agenda#
Install Git and setup the repository
Install Code Composer Studio.
Setup Code Composer Studio (CSS) integrated development environment (IDE).
Import CCS project files.
Note
Don’t worry if it doesn’t work right. If everything did, you’d be out of a job.
💻 Procedure#
Warning
The GIF animations provided on this page are intended to complement the main resources, rather than serve as the main source of information. It’s important to thoroughly read the text instructions in order to understand and follow the guidance. If the instructions are unclear, you can refer to the supplementary GIF animations for further clarity. However, solely relying on the animations without reading the accompanying text may make it difficult to accurately follow the instructions.
Fork the GitHub Repository#
Create a GitHub account if you don’t have one.
Log in to GitHub if you are not already logged in.
Fork the ECE382_wksp repository by clicking Fork and following the prompts.
Make the Repository Private#
We’ll now detach this fork from the original repository and make it private.
Go back to Settings and scroll to the bottom then click
Leave fork network.Click
I have read and understand these effects.Type in the name of the repository to confirm and click
Leave fork network.Wait a few seconds and refresh the page until the
Change visibilitybutton becomes enabled.Click
Change visibilitythenChange to private.Click
I want to make this repository privatethen clickI have read and understand these effects.Click
Make this repository private.
Rename the GitHub Repository#
Important
Please name your repository as ECE382_LastName_FirstName. This will help instructors find your repository easily.
Now rename your repository by going to
Settings, typing in a new name using the format ECE382_LastName_FirstName, then clickingRename.
Add Your Instructor#
Click
Settingsfollowed byCollaboratorsand thenAdd peopleto invite your instructor, Lt Col Trimble, Dr. York, or Lt Col Wyche. The instructors’ GitHub email addresses are as follows:LtCol Trimble:
Dr. York:
LtCol Wyche:

Install Git#
Option 1: Self-Service Client#
You can install Git for Windows using the Self-Service Client from 10 CS.
Option 2: Install Git Manually#
Browse to git-scm.com to download
64-bit Git for Windows setupInstall Git with the default settings. Git is already installed on Mac.
Setup Your Workspace#
Create a folder named
workspaceunder your home folder, e.g., C:\Users\stanley.baek\workspace.Right-click the
workspacefolder and selectOpen in Terminalfor PowerShell orGit Bash Herefor Bash as shown below. You may need to go to “Show more options” first after you right-click.From your repository in GitHub, click Clone and copy the HTTPS URL.
Go to the terminal (e.g. Bash or PowerShell) and type
git cloneand then paste the repository URL you just copied (middle or right-click, right-click > Paste, orShift+Insto paste). Hit Enter.
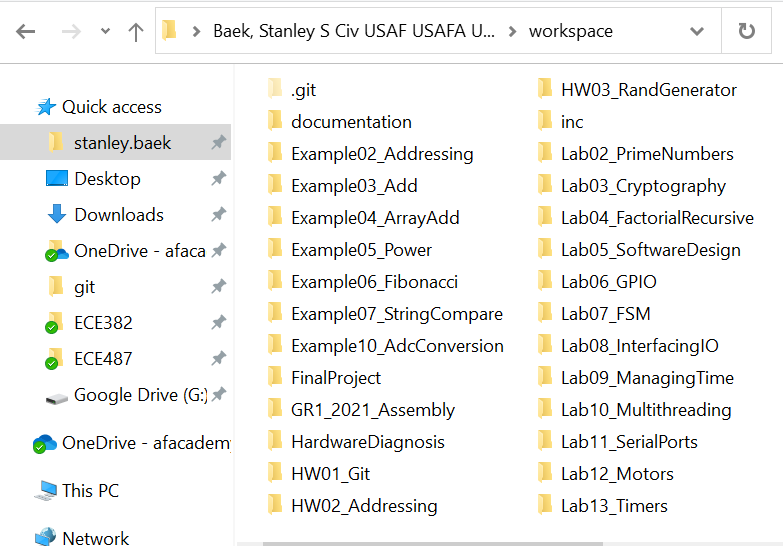
The figure below shows an example of a local
workspacefolder on your computer.
Go back to the terminal. If you have already closed it, right-click on an empty space inside the
workspacefolder and selectOpen in TerminalorGit Bash Here.Type
git remote -v. It will return two lines showing thatoriginis your remote repository at github.com for both fetch and push.Type
git remote add upstream https://github.com/USAFA-ECE/ece382_wksp.git(or copy & paste) and hitEnter.Type
git remote -v. It will now return four lines showing thatupstreamis the original instructor’s repository that you forked from.
Whenever there are any updates on the original code, you will be asked to run
git fetch upstreamto update your local files.Your default push and pull repository is
origin, which is your GitHub repository.

Install Code Composer Studio (CCS).#
Download
Code Compose Studio 12.7.xusing one of the following methodsGo to https://www.ti.com/tool/download/CCSTUDIO/12.7.1 to download
Windows on-demand installer for CCS IDE. For Mac users, downloadmacOS on-demand installer for CCS IDE.Go to Teams > General > Files > Class Materials > Software and download
ccs_setup_12.x.x.xxxxx.exe.
Run the installer by double-clicking the
ccs_setup_12.x.x.xxxxx.exeexecutable.Begin the installation process, by default it will ask you to install under the
C:\tifolder, which is recommended.Select
Custom Installation(Recommended)Select the processor support for
SimpleLink MSP432 MCUsand click Next.Ensure the default Install debug probe is selected and leave the rest unselected.
Click Next until installation begins.
Click Finish and your installation should proceed to completion.
Import Project Files.#
Attention
The following steps are critical. If you make a mistake, it may take hours to fix the problem later this semester. Please follow the instructions carefully.
Open CCS.
When asked to
Select a directory as workspace, selectBrowseand browse to yourworkspacefolder. Select theUse this as the default and do not ask againcheck box. ClickLaunchImport all the projects into CSS. File > Import… Choose Code Composer Studio > CCS Projects and click
Next.Select
Search Directoryand click theBrowse...option. Browse to theworkspacefolder.CCS should discover many projects inside the
workspacefolder. ClickSelect All(DO NOT checkAutomatically import...orCopy projects...options). This will have CCS reference the project from the original location and preserve the original directory structure required to build. ClickFinish.In
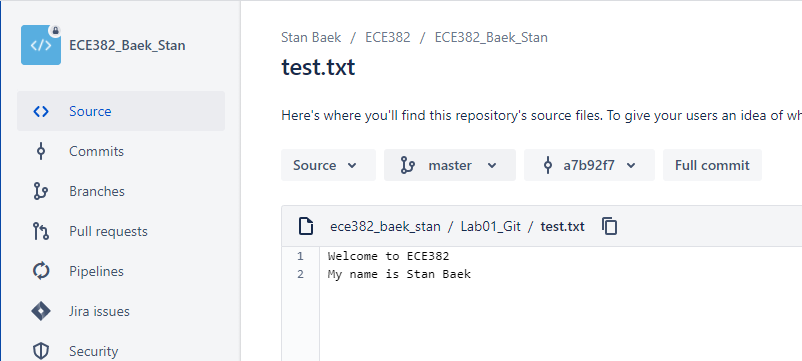
Project Explorer, expandHW01_Gitand double clicktest.txtto open. Edit the file and save. You can simply add “My name is …” as shown below.
Push Your Code.#
Go back to the terminal. If you have already closed it, right-click on an empty space inside the
workspacefolder and selectOpen in TerminalorGit Bash Here.Type
git add -Aorgit add -alland hitEnter.Type
git commit -m "Homework 1"and hitEnter.Type
git pushas shown below.You can run
git statusto check the current status of your local repository.Enter your username and password if prompted.
Refresh your GitHub repository and ensure your push has been made through.
In the future you will repeat these three steps when committing your changes:
git add -A
git commit -m “Comment”
git push
Attention
It is your responsibility to check your files have been successfully pushed to your GitHub repository. Always visit your GitHub repository after you push your assignments to the repository.
Tip
CCS comes with built-in Git, and it can be opened from CCS menu > View > Other > Git > Git Staging. You can commit and push at the same time. There are also many third-party graphic user interface (GUI) clients. Check out https://git-scm.com/downloads/guis.
Tip
Scott Chacon was one of the founders of GitHub and has a great talk with some Git Tips and Tricks. https://www.youtube.com/watch?v=aolI_Rz0ZqY
Unhide File Extensions#
Go to the
workspacefolder on your computer. Then, go to theincfolder.Do you have files with the same names? If you have two files with the same name, one of them is a c source file (
*.c) and the other is a header file (*.h). Windows hides file extensions unless you change its default setting.If your Windows File Explorer displays file extensions such as
.cand.h, skip this section.Click
Optionsand selectViewas shown in the gif anmination below.Uncheck
Hide extensions for known file types. You can also change some of the Windows default settings shown in the animation.Click
OK. Now you can see file extensions.
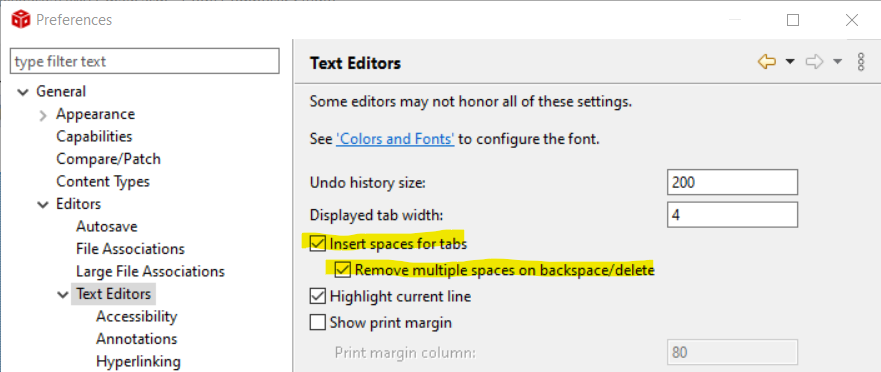
Convert Tabs to Spaces#
Open CCS if it is closed.
Open Text Editors Settings. Window > Preferences > General > Editors > Text Editors.
Check
Insert spaces for tabsandRemove multiple spaces on backspace/deleteas shown below.Click
Apply and Close.
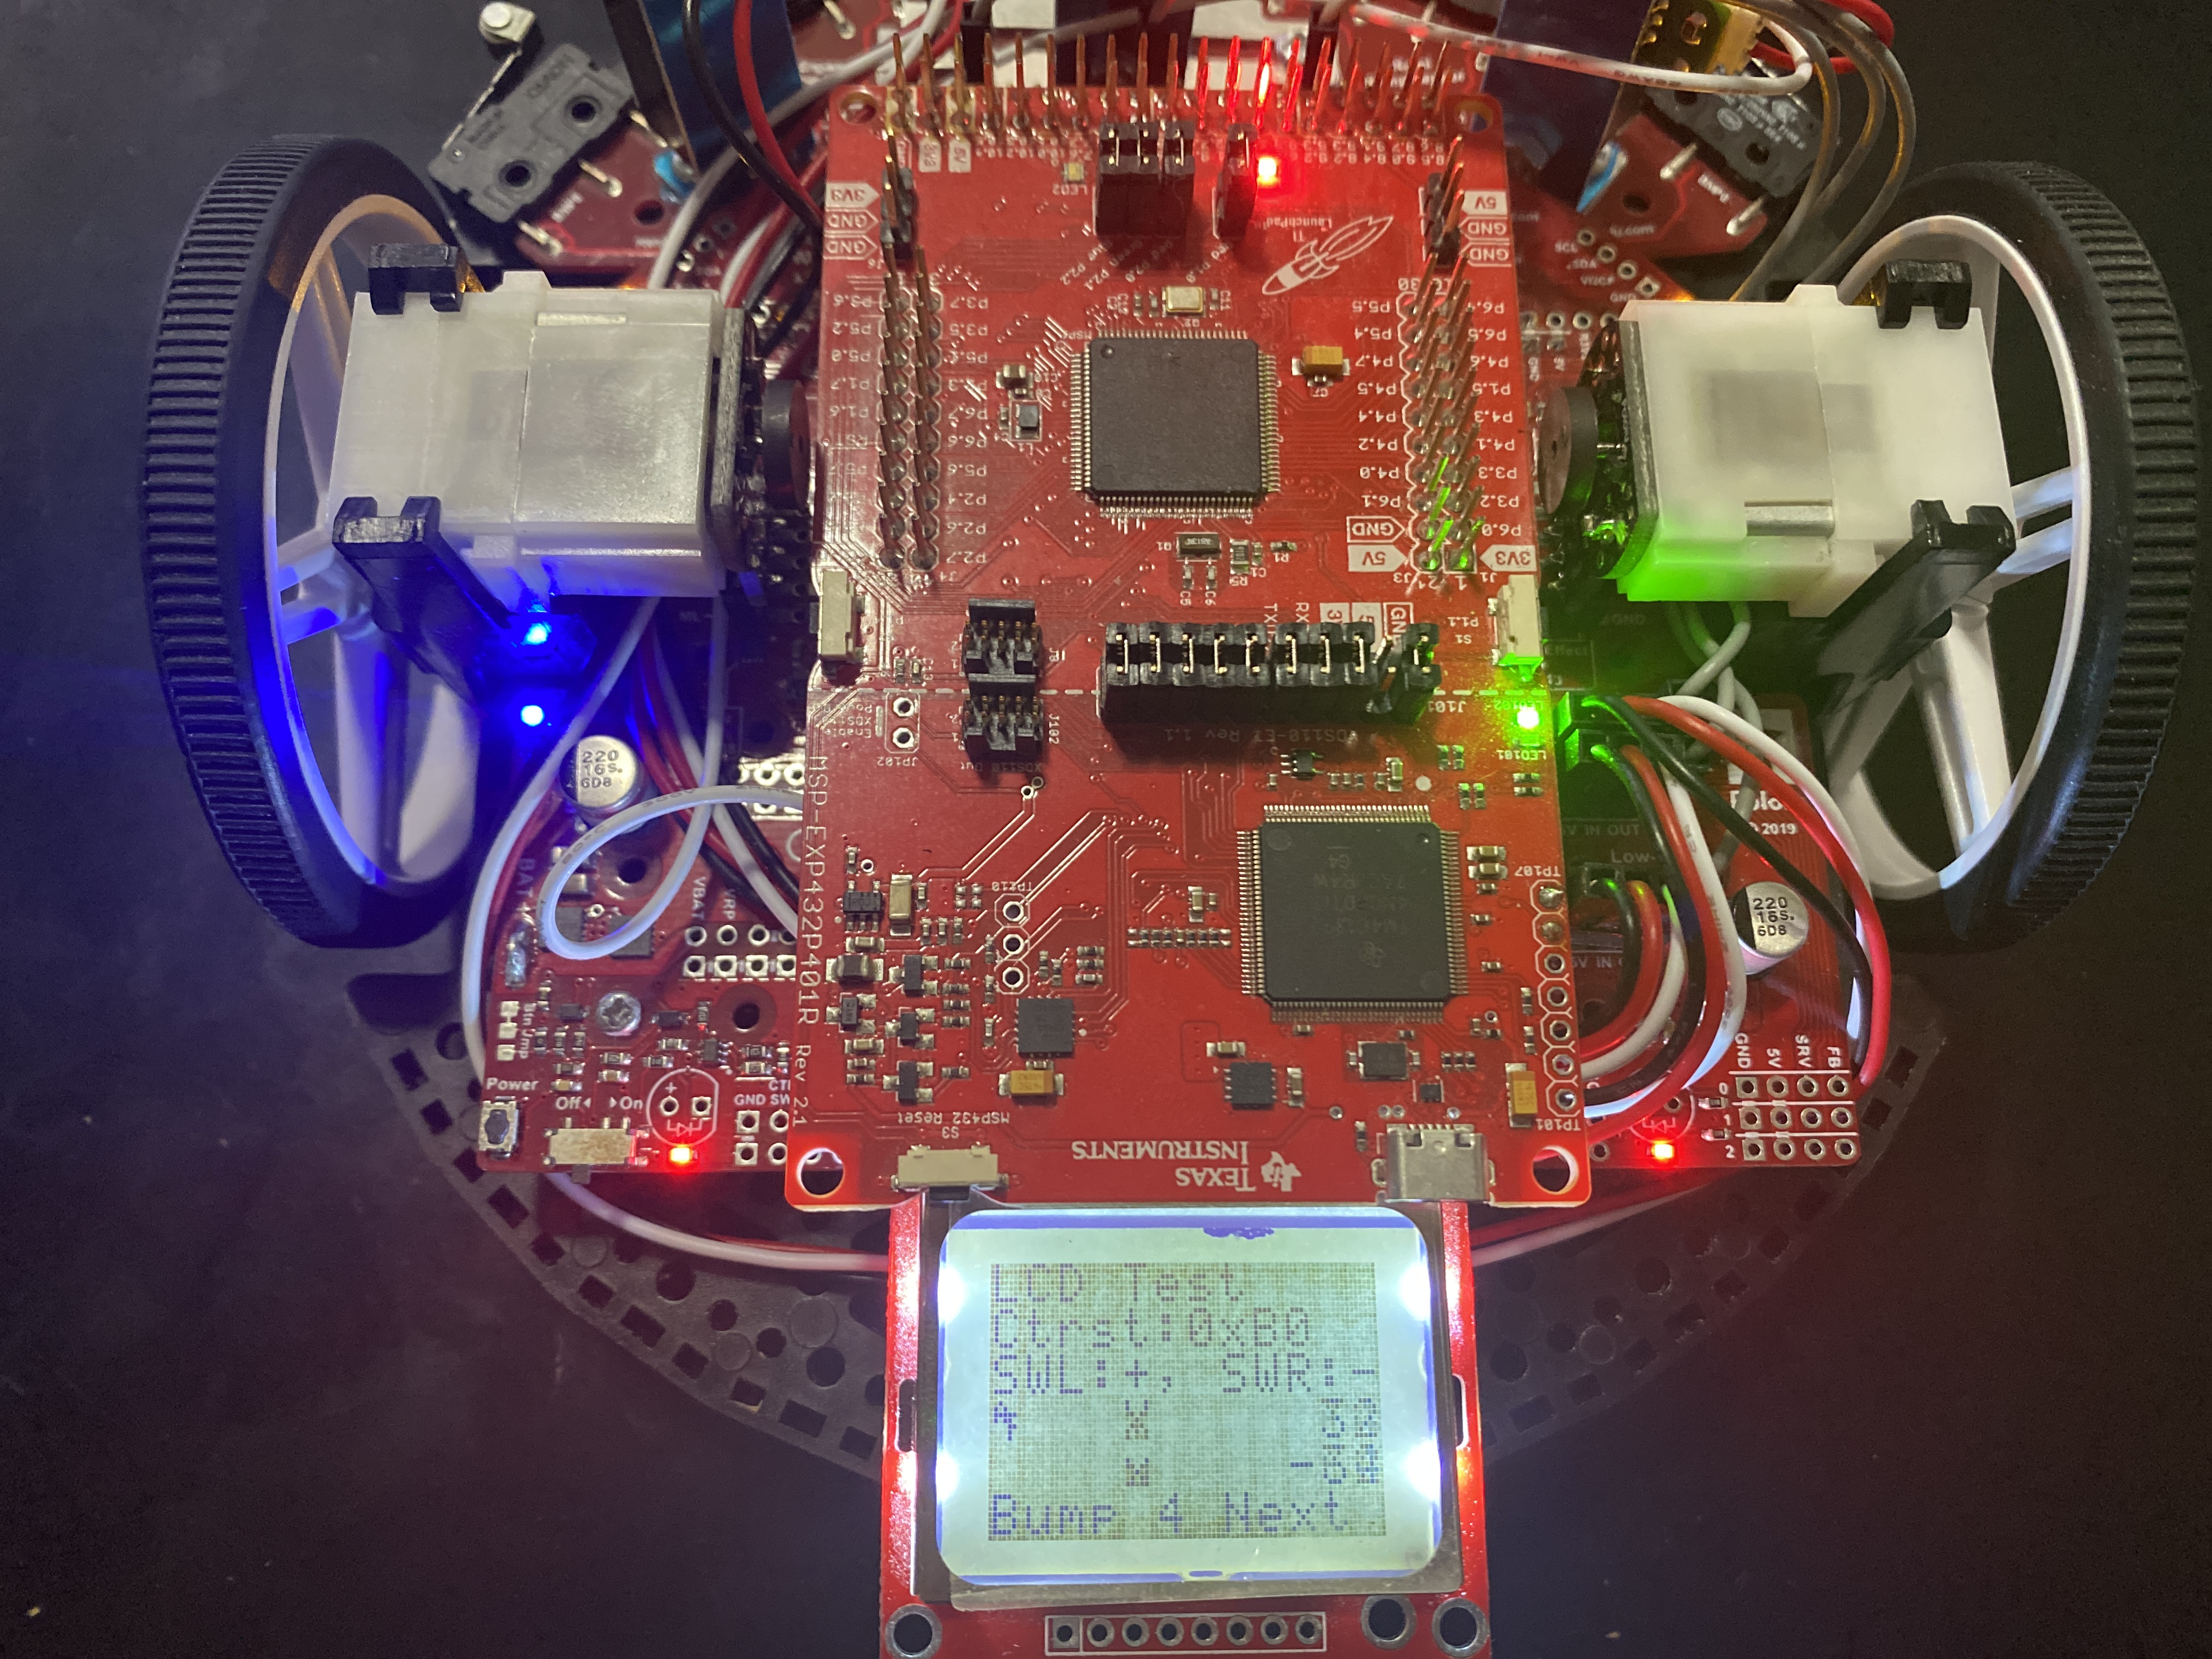
Hardware Diagnostics Tool#
Click 🙋 FAQ on the left sidebar of this website. If the sidebar is hidden, click the hamburger button (the triple bars ☰).
Go to Troubleshooting Hardware Issues: Using the Hardware Diagnostic Tool section and complete the hardware diagnotics.
While you are running the tool, take a picture of your robot. Your picture must show one of the tests on the LCD as shown below. Ensure you have a small AF symbol on each test screen.
Submit the picture on Gradescope.
🚚 Deliverables#
Submit the screenshots and answer the additional questions in Gradescope. Use Snip & Sketch (Shift+Win+S) on Windows 10/11 or Shift+CMD+4 on MacOS to take a screenshot. Save it in png or jpg.
Warning
Do NOT take pictures of your computer screen using your phone because (i) it can result in sampling aliasing, as explained in ECE215/ECE315, (ii) it will require more steps compared to a simple screen capture, and (iii) the resulting image will always be blurrier than a direct screen capture.
[0.5 Points] Reading assignment
[2 Points] Skills Review
[4 Points] Provide a screenshot of your GitHub repository as shown below
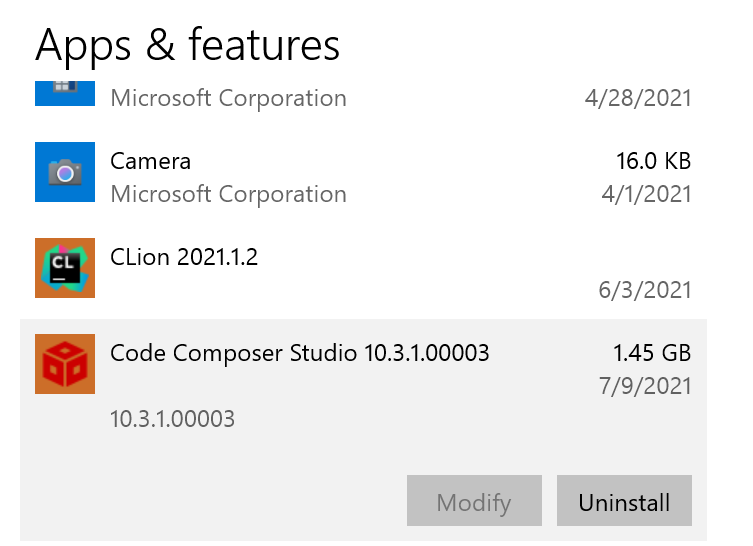
[5 Points] Go to Windows Settings > Apps. Click on Code Composer Studio and take a screenshot as shown below. For Mac users, it is in the Applications folder.
[5 Points] While you are running the hardware diagnostics tool, take a picture of your robot and submit it on Gradescope.
[0.5 Points] Time Log in Gradescope.
[-10 Points] Take a picture of your screen with a mobile device or digital camera and submit it on Gradescope. Yes, I am serious…
Warning
You will receive a grade of -10 everytime you submit a picture of computer screen taken by your phone or mobile device.