
✏️ HW 2 Assembly Basic#
📌 Objectives#
Students should be able to use debugging tools like single stepping, breakpoints, and watch windows.
Note
Be a better programmer by mastering debugging!
💻 Procedure#
Warning
The GIF animations provided on this page are intended to complement the main resources, rather than serve as the main source of information. It’s important to thoroughly read the text instructions in order to understand and follow the guidance. If the instructions are unclear, you can refer to the supplementary GIF animations for further clarity. However, solely relying on the animations without reading the accompanying text may make it difficult to accurately follow the instructions.
Setup#
Connect the LaunchPad (the board mounted on top of your robot) to your computer via the provided USB cable.
Open Code Composer Studio (CCS) and select your workspace if prompted.
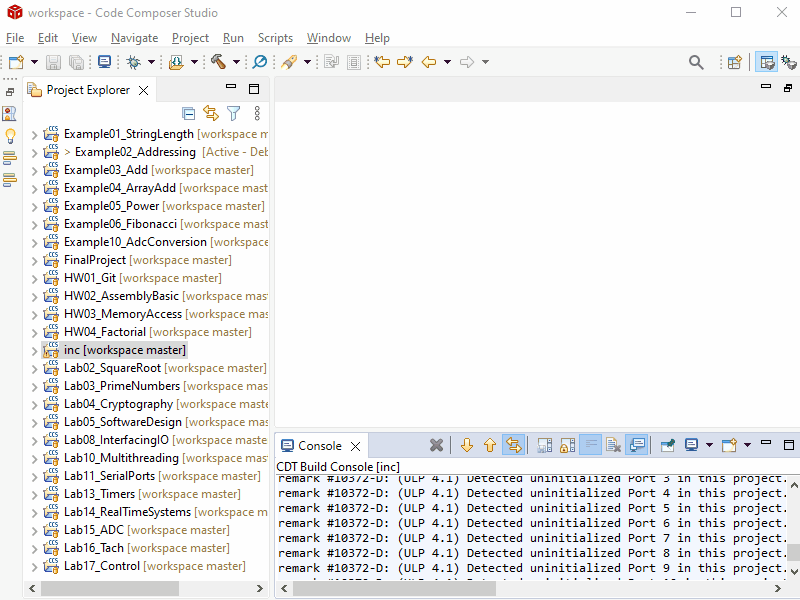
Ensure your
Project Exploreris open on the left of the CCS screen. If not, select View > Project Explorer.
Note
You might be worried about multiple-choice questions where you don’t get partial credit for mistakes. However, that’s why there are bonus points in the homework. You can earn a grade higher than the grade posted here, and any points above the posted grades can be applied to other homework assignments where you have not earned the maximum grade.
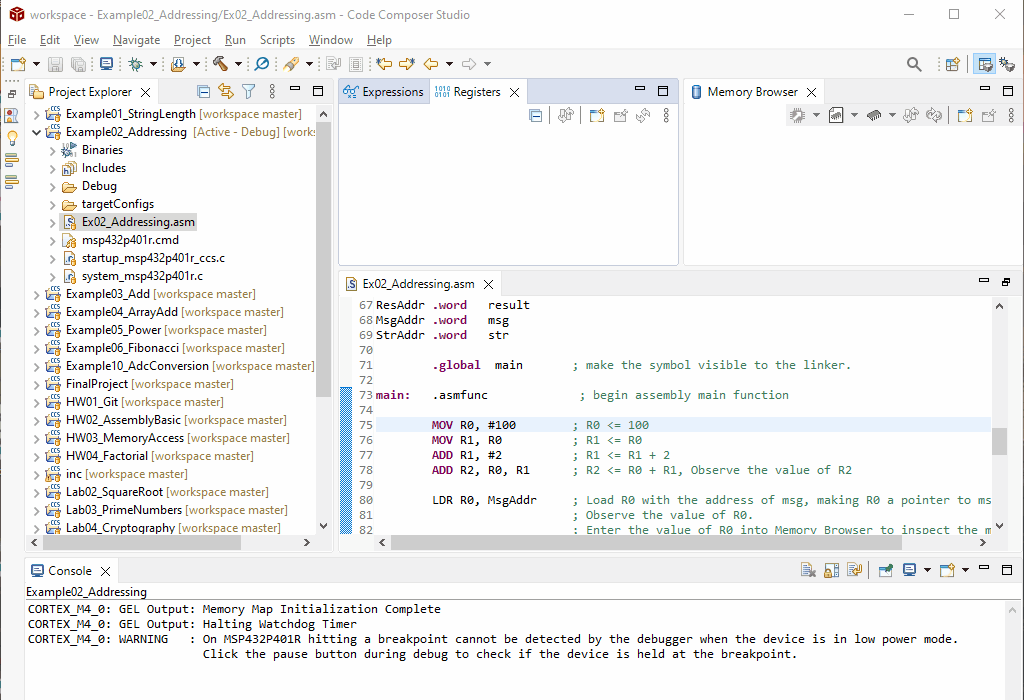
Build and debug Example02_Addressing project#
Double-click the
Example02_Addressingproject in the Project Explorer to open it.The project that is currently selected will list [Active - Debug] next to it.
Double-click the
Ex02_Addressing.asmfile under theExample02_Addressingproject to open it. Before you compile your project, always ensure it is selected and has [Active - Debug] next to it.
Note
It is crucial to ensure that the project you want to compile is selected and has [Active - Debug] next to it. Otherwise, you might compile the wrong project and experience unexpected behaviors. Many cadets have wasted hours before realizing that they had selected the wrong project.
Observe the main toolbar at the top of the screen. The toolbar shown below presents before entering the debugger. If you don’t have the toolbar, go to the
Windowmenu and then clickAppearance>Show Toolbar.

The two main symbols we are concerned with are the
Debugsymbol (bug) and theBuildsymbol (hammer). TheDebugtool will first build your code and then open the debugger. TheBuildtool will build your code but not open the debugger. If your code is already built, theDebugtool will open the debugger without rebuilding the code.
Tip
Always run Build first to ensure you have no compile errors. Then, you can run Debug. Once your code is built with no errors, CCS will just open Debugger without rebuilding the code. If there are compile errors, you cannot run Debugger anyway.
Activate the
Debugtool by pressing the bug and selecting theTexas Instruments XDS110 USB Debug Probe/CORTEX_M4_0tool if prompted. If it requests to update the firmware, selectUpdate. Ensure the LaunchPad is connected during this process.After the debugger is launched, you should notice a new layout for your screen. This layout is customizable. Different views can be added using the
Viewmenu at the top.The following GIF animation shows how to build and debug a project.
Breakpoints: A breakpoint is used to stop the debugger at a specific line of code and allow you to observe the values of variables or expressions. The debugger will then wait to process any more code until the user tells it. When we start the debugger, it automatically stops at the first line of code in the
mainfunction. You can add breakpoints by double-clicking the vertical bar next to the line of code you are interested in or right-clicking the line and selectingBreakpoint>Breakpoint. You can observe, turn off, or remove breakpoints using the breakpoint menu.
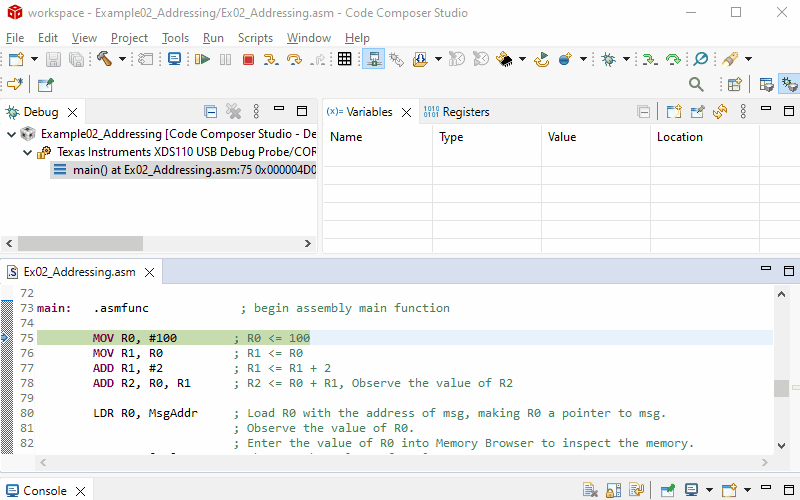
Add a breakpoint at line 78:
ADD R2, R0, R1. You should see a bubble in the left vertical bar at line 78.You should also notice a new toolbar at the top used to debug the code. These tools are used to step through the program and navigate through breakpoints. From left to right they do the following:
Resume: continue processing code until the next breakpoint or until the code finishes (or loops).
Suspend: halts processing the program at the current line being processed.
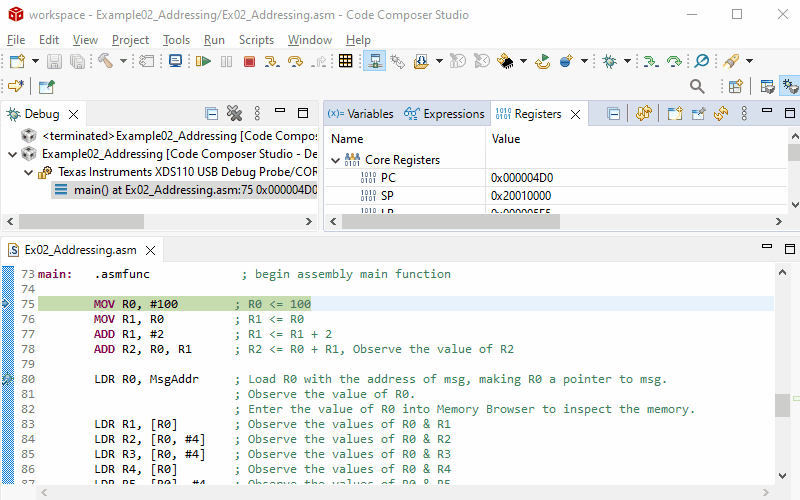
Halt: stops all processing and exits the debugger.
Step Into (C): enter a function call if it is the current line to be processed.
Step Over (C): does not enter a function call.
Step Return: if in a function call, will process the rest of the function and then halt after returning from the function call.
Step Into (ASM): enter a function call if it is the current line to be processed.
Step Over (ASM): does not enter a function call.

Attention
The yellow arrows are for stepping through the C code and the green arrows are for the Assembly code.
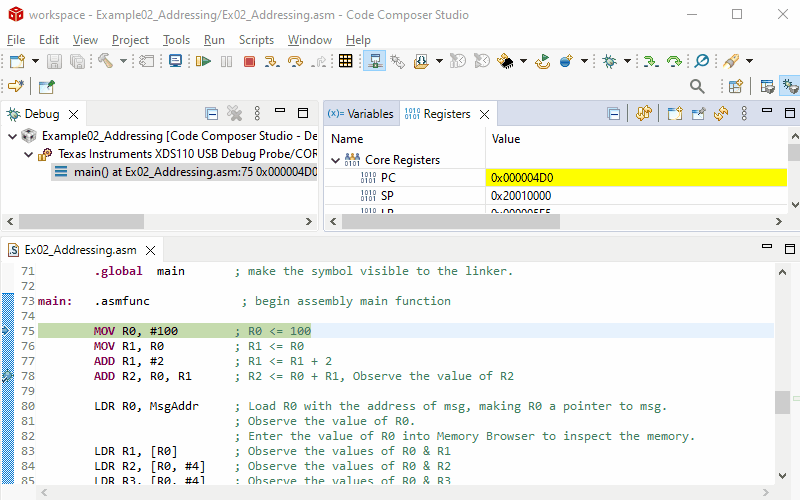
Expressions and Registers Tabs#
You can add expressions to observe the values of registers, variables, etc by right-clicking on a register or variable in your code and selecting
Add Watch Expression. You can also add an expression to theExpressionsmenu by selecting+ Add new expression.In the
Expressionsmenu, theContinuous Refreshbutton (yellow pause button with two arrows) allows you to continuously update expressions while the program is running.Register values can be viewed using the
Registerstab. The main registers used in assembly code are under theCore Registersmenu.The following GIF animation shows how to step through your code.
Memory Browser#
You can add the
Memory Browserin CCS by navigating toView>Memory Browser. Step through the code until line 83 to find the address where theMsgAddrvariable is stored. Navigate to this address to find the location (address) of msg, which is also stored in R0. Enter the value of R0 into the Memory Browser to inspect the memory. The variables are stored as shown below.
              MsgAddr
   0x000004C8 | 0x20000020 |
                   :
                   :
              msg
   0x20000020 | 0x0ECE0382 |
   0x20000024 | 0xFEEDBABE |
   0x20000028 | 0x0DEFACED |
Ensure you select
32-Bit Hex - TI Styleor32-Bit Hex - C Styleto displaymsgin hexadecimal.Use
Assembly Step IntoorAssembly Step Overto investigate how theLDRinstruction is being used. Examine the values ofR1throughR8as you step through. You are expected to understand all the instructions in this code.Next, step over to line 102 to find the value of
StrAddr, the address ofstr, which is stored in R0. Enter the value of R0 into the Memory Browser to inspect the memory.Ensure you select
Characterto displaystrin ASCII character.
Warning
Remember to choose the correct format when you submit your assignments for the rest of the semester. For instance, you may not receive full credit if you choose hexadecimal for a string variable, or vice versa, because it would be difficult for anyone to understand.
Program Counter (PC)#
Reactivate the
Debugtool by pressing theDebugtool (bug).Ensure that the
RegistersandMemory Browsertabs are visible.While stepping through the code, carefully examine the
Program Counter (PC)value and the addresses in theMemory Browseras shown below.
Note
In debug mode, the assembly code highlighted (with the blue arrow next to the line number) is the next instruction to execute. The instruction has NOT been executed yet! For example, if MOV R1, R1 (line 76) is highlighted, it is the next instruction to execute. At this point, the PC value is 0x000004D4, which is the address of the instruction, MOV R1, R0. Remember the PC always holds the address of the next instruction to execute.
Caution
Watching the GIF animation alone is not sufficient to understand how the Program Counter (PC) works. Please step through the provide code, especially the loop, to gain a thorough understanding.
Build and debug HW02_AssemblyBasic project#
Open
HW02_AsmBasic.asmunder theHW02_AssemblyBasicproject in the Project Explorer.Ensure the project that is currently selected - Check [Active - Debug] next to it.
Build and debug the project.
Ensure the
RegistersandMemory Browsertabs are visible.While stepping through the code, carefully examine the
Program Counter (PC)value and the addresses inMemory Browser.
A note on code comments: Comments should typically explain why you are doing something, rather than what the line does. This is especially important in Assembly, where what is stored in a particular register can be easy to lose track of. For example:
 ; A good comment
ADD    R0, #1    ; i++
; A poor comment
ADD    RO, #1    ; R0 = R0 + 1

; A good comment
STRB    R0, [R6], #1    ; write x byte to DestAddr and advance
; A poor comment
STRB    RO, [R6], #1    ; R0 -> R6 and R6++
The comments for the first couple of assignments are designed to show lexicon for beginners in Assembly programming, so you should not follow that style. Please refer to the later assignments for better comments and use such comment style for your assignments.
🚚 Deliverables#
Use the debugger and step through the program to answer the questions on Gradescope.
Important
Go to Gradescope to answer homework questions.